This tut called Dreaming of you has been posted at my favorite msn group T.A.G. since last July and I am also going to post it here for people who arent members and just to have it somewhere for myself to remember.
Dreaming of You
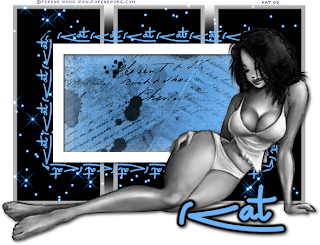
for this tutorial I used psp 9
Xenofex 2
Filters Unlimited
Eye Candy 4000 ~optional
penta.com filter ~optional
filter factory gallery A ~optional
font of choice
I used Montelago unfortunately I cannot share
WSL_Mask148 is in my zip
i got from Weescotslass here http://www.weescotslass.co.uk/
Thanks for your beautiful Masks!!
exotica letters brush
supplies here
put the brush in your brushes folder
Open your main tube
open a new canvas 500 x 500
flood fill this layer with white
add a new raster layer
floodfill this layer with black
now go to effects ~ plugins ~ alien skin xenofex 2 ~ constellation with these settings (click settings image to enlarge)

OK
now we have to colorize the stars to match your tube
click on your change to target brush and use the settings below
change your foreground to the color to match your tube, I used #6ab2f7
with these settings colorize your star background till all the stars are colored
i have supplied my background for those of you who don't have xenofex 2
just copy and paste it from here
(click settings image to enlarge)

now open the WSL_Mask148
go back to your star background
go to layers~new mask layer~ from image
OK
now you should have your mask star background
in your layers pallette right click on your top mask layer and merge/merge group
you should be back to 2 layers
add new raster layer
click your Rectangle tool were going to make the white frame
change your foreground to white and your background null
draw a white rectangle frame around 375 X 200 pixels
using these settings
(Click settings image to enlarge)
you should now have something like this

in your layers pallette
right click on vector 1 layer and convert to raster layer
ok, need a break yet??
add a new raster layer
in your layers pallette drag it under your frame layer
hit your selection tool, set to rectangle, feather 0, anti-alias checked
and draw a rectangle

now flood fill this with the color you chose to match your tube, or I used #6ab2f7
keep selected
penta.com / dot and cross with these settings
amount :72
cross distance :3
cross width :2
and hit ok
selections/ select none
on that same layer
go to filter factory gallery A / zoom out
(note:i have my filter factory gallery A imported into my filters unlimited plugin)
and apply these settings

click ok
and on this same layer~selections ~select all~ float
click on paint brush and find your exotica letters 1 brush
with your color set to black apply your brush with these settings
(click settings image to enlarge)

it should look something like this

selections/ select none
click on your frame layer, lets give it a drop shadow
effects/ 3D effects/ drop shadow with these settings
V~2
H~2
Opacity~71
Blur~7.25
color black
hit OK
add a new layer make sure its on top
now you can add anything here, a quote , lyrics, a poem, for this tutorial I used my name
click your rectangle tool with the same settings as before foreground white background null,
change the line width to 1 draw a rectrangle just a bit bigger than your frame
now click on your text tool
foreground set to null
background set to the color from your tube, I used #6ab2f7
and click on the rectangle we just drew up in the top left corner
so that your text goes around the frame

add the words "Dreaming Of You"/ or your name over and over till you see it fill all the way around your frame
click apply
in your layers pallette right click the floating selection and promote the selection to layer,
selections/ select none
back in your layers pallette click on the vector rectangle layer and delete it
copy and paste your main tube as a new layer
add a drop shadow using these settings
V~2
H~2
Opacity~71
Blur~7.25
color black
hit OK
add a new raster layer
ready to add your name to it?
click the text tool
I used Montelago font size 100 for mine foreground null/
background the same color from your tube we've been using or #6ab2f7
add your text while its floating go to plugins, eyecandy 4000, gradient glow,
with these settings
glow width - 4.00
soft corners - 100
overall opacity - 100
draw only outside selection checked
and change the color to black
click ok
while still floating add the same drop shadow as before
selections/select none
add your copyright info and watermark and merge all
don't forget to crop it
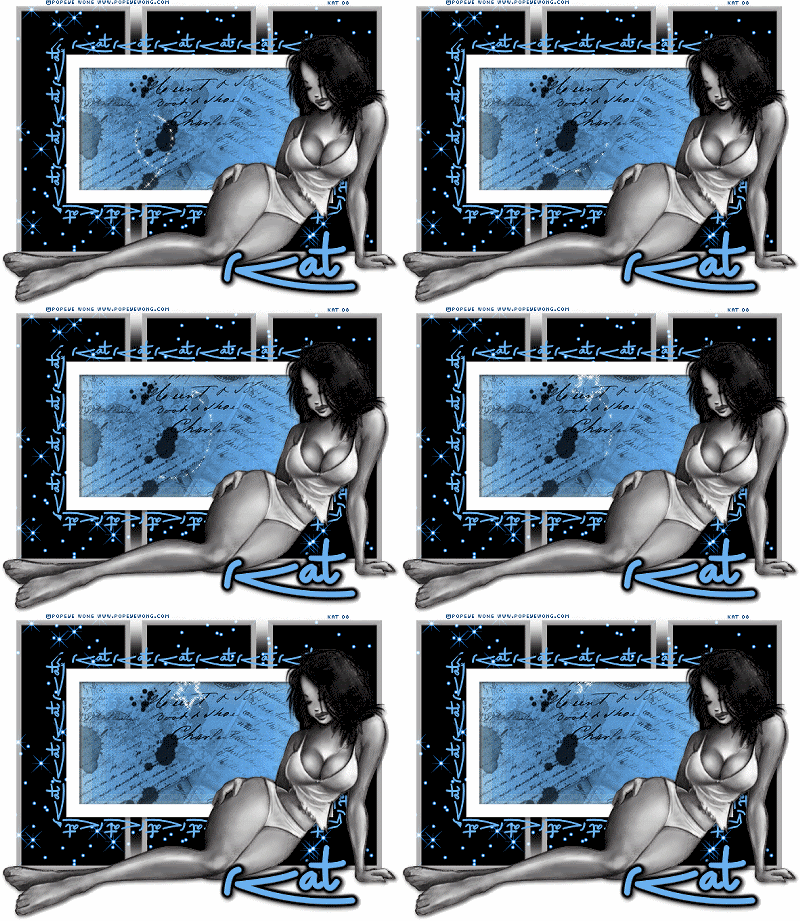
You may want to take this to animation shop and add a bling
there are some nice ones here
sorry I can't supply the one I used
this tutorial was written June 26, 2008
by KittyKat™ aka Beth
Any resemblance to this tutorial is purely coincidental


